Getting Started with PhoneCleanKit
Welcome to PhoneCleanKit! This guide will help you get started with cleaning up your iPhone storage and reclaiming valuable space.
Step 1: Download and Install
Download PhoneCleanKit from the App Store. The app is free to download with optional premium features available through in-app purchase.
Step 2: Grant Photo Library Access
When you first open PhoneCleanKit, you'll be asked to grant access to your Photo Library. This is required for the app to analyze your photos and videos. Don't worry - all processing happens on your device, and we never upload your photos anywhere.
Step 3: Run Your First Quick Scan
Tap the "Quick Scan" button on the home screen. PhoneCleanKit will analyze your photo library and identify:
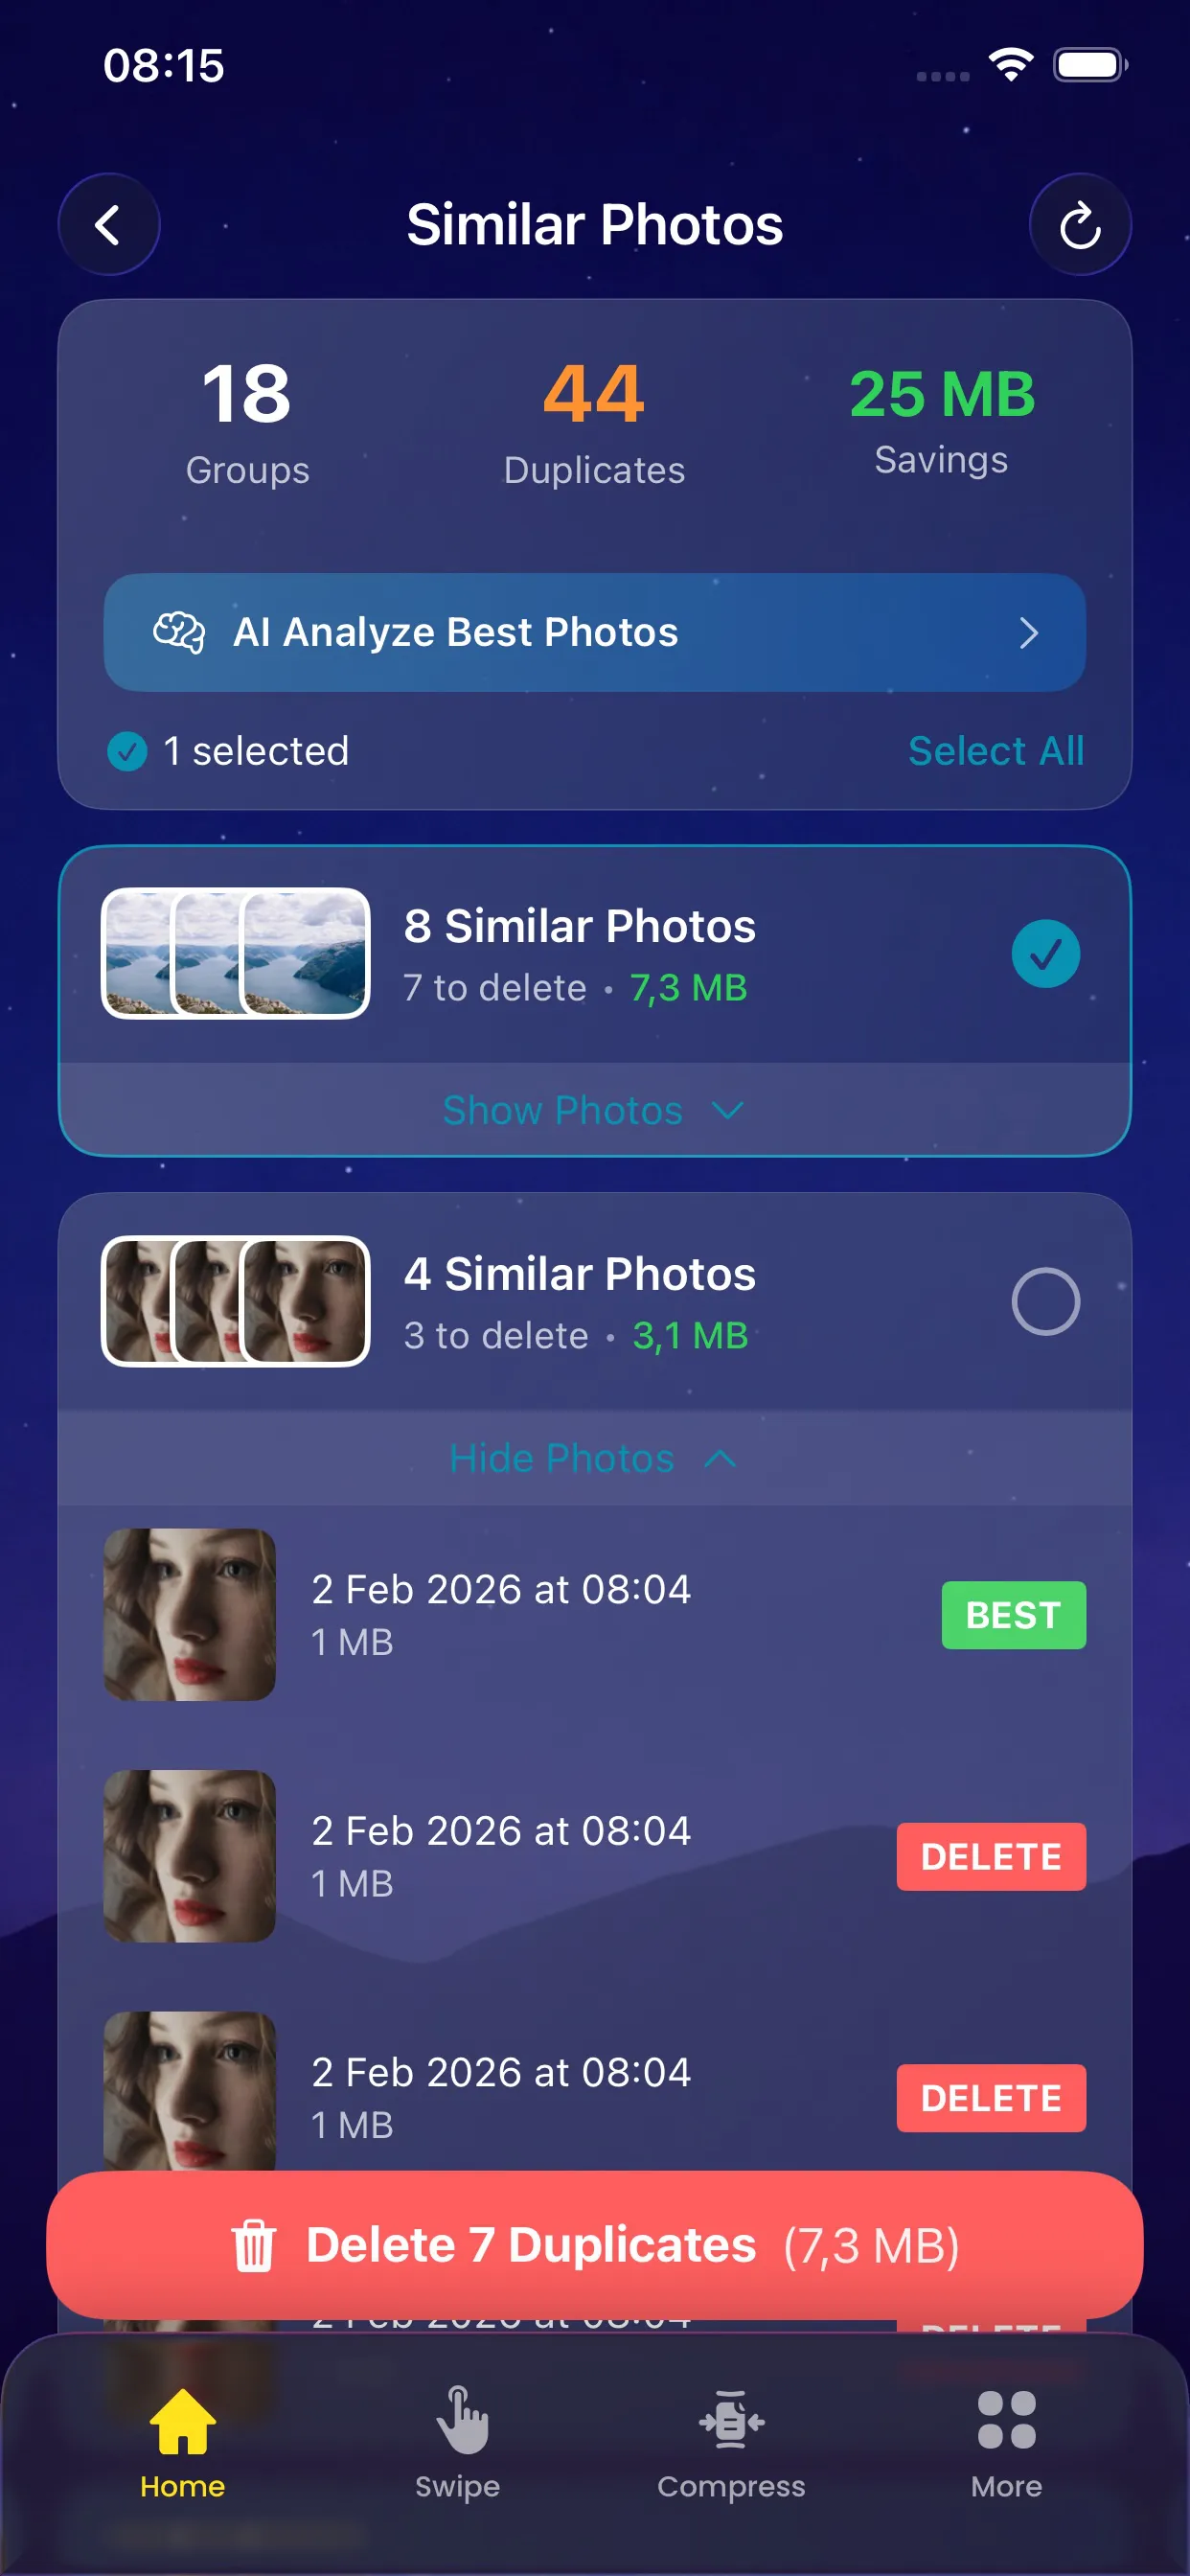
Step 4: Review Results
After the scan completes, you'll see a summary of what was found. Tap on any category to review the items in detail.
Step 5: Clean Up
Select the items you want to remove and tap "Delete Selected". The items will be moved to your Recently Deleted album, where they'll stay for 30 days before being permanently removed.
Pro Tips
That's it! You're now ready to keep your iPhone storage clean and organized with PhoneCleanKit.